
I have a couple of things to confess to you.
A few weeks ago, my fellow co-workers and I were informed that the store at which we work will be closing. Aargh!
That news struck me right through the heart. I have not been handling it very well at all. You see, I've been working there for six years, and the store, the associates and the customers have become so much a part of me. I feel like a piece of my heart is being ripped out.
Each day at work is heart-wrenching, just witnessing what is happening all around us. The demise of something so classic and wonderful.
So, you can imagine how my eyes lit up when I came home from work a few days ago to see my bright red Paper Pumpkin box sitting with the rest of the mail! Yay! Some HAPPINESS on the way -- for a change.
Just for the record, I refuse to check out all the Paper Pumpkin spoilers that are out there on the Internet until my very own kit arrives -- so I can be surprised!!
Thus, it was a grave disappointment (sorry Stampin' Up! -- I feel so disloyal) when I tore into my package to discover what was inside. Meh.
I'm not sure what I was expecting -- or hoping for -- but this did absolutely NOTHING for my mood.
I crabbily stuffed everything back into the box. And continued on in my funk.
Over the next few days, the kit came to mind several times. I have to admit that I was drawn to the diecut fronts that were included in the kit. At first, I was tempted to simply use them as stencils in my mixed media projects. But there were four of each design! I needed to come up with more uses!
Finally, I took out one of each of the designs and cut them apart, trimming them as I needed for my intended purpose.
Once I did that, the Creative Therapy kicked in, and I was on my way to a much better outlook on life!
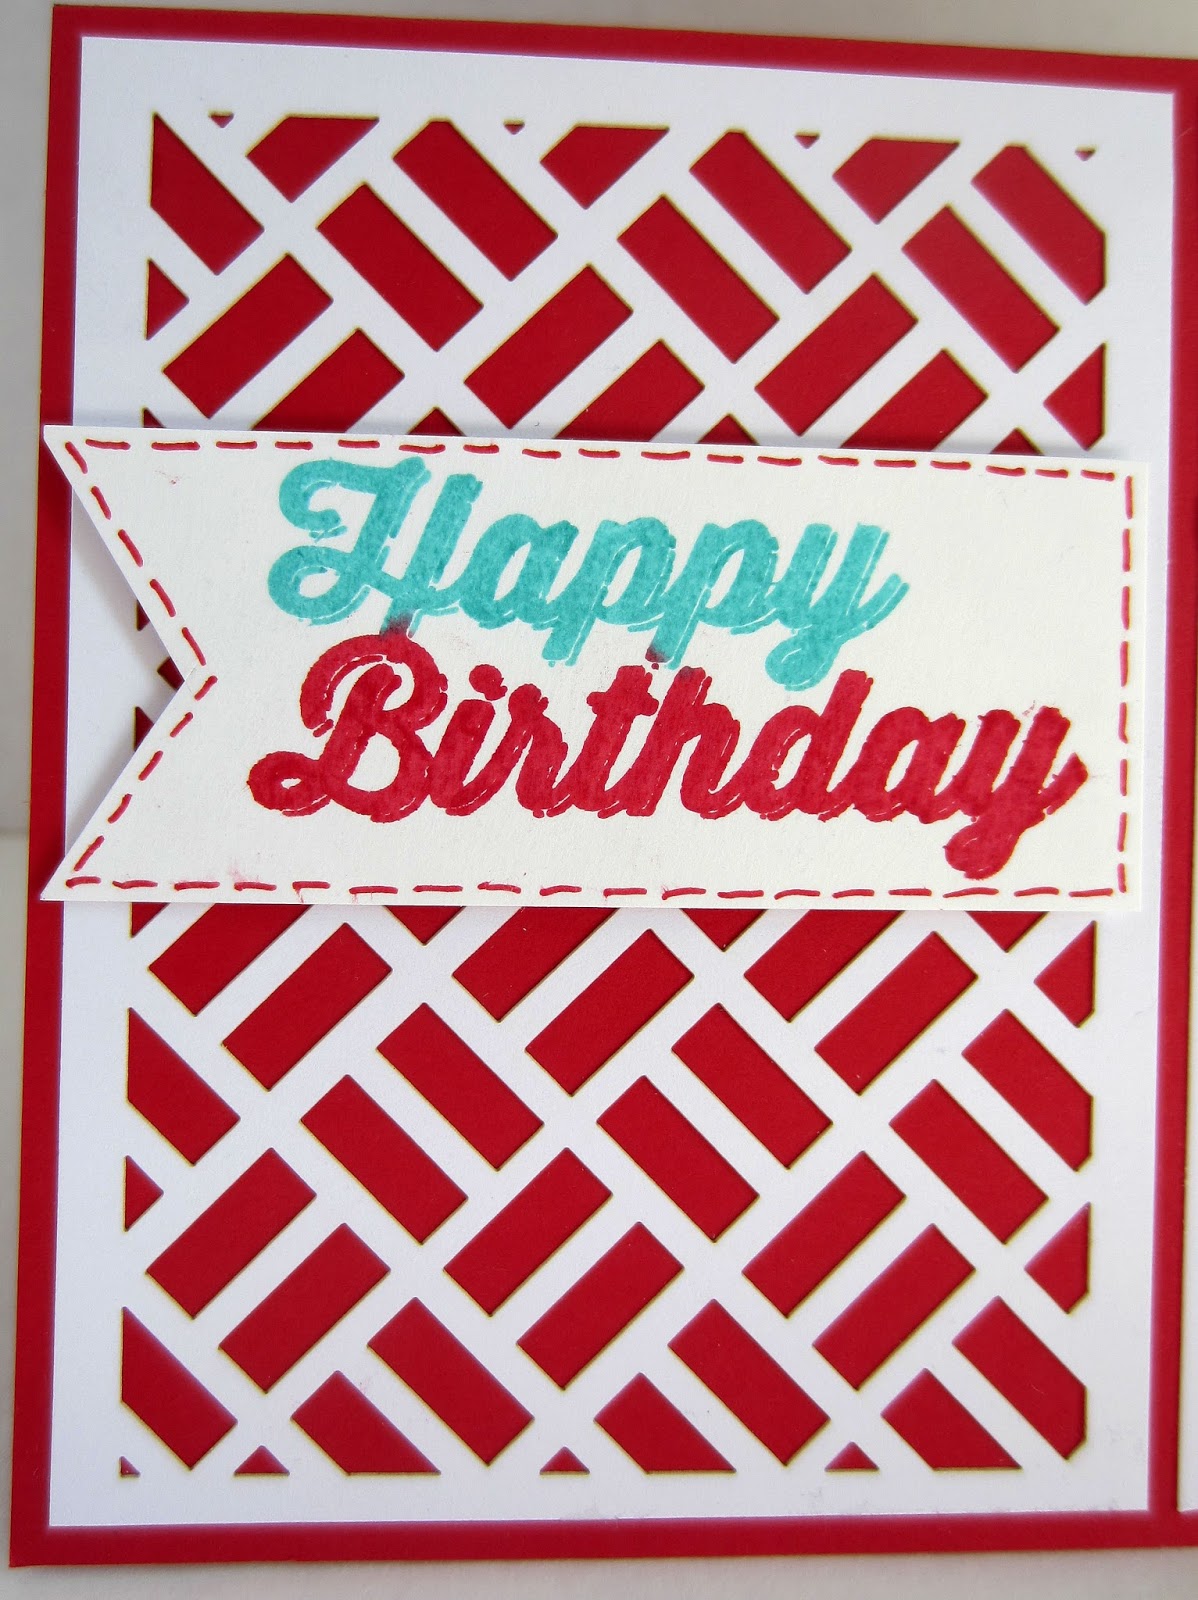
Using the lattice-type diecut, this is the card I came up with:

The photo below pictures the front of the instruction sheet that came with the kit. This is what the cards would look like if I had followed the directions. Sure, the corrugated orange piece was sorta cool. But . . .
I don't know -- I just found them kinda blah.

After cutting the diecut apart, I proceeded to create this card in three sections.
Because the darling koala will be retiring in a few days -- I will so miss him! -- I wanted to use him one more time.
On a previous car trip, I had cut out a plethora of koalas that I had stamped on scraps of Designer Series Papers. Going through all my choices, I decided on this little polka dot guy. I had also cut out many of the flowers that he is holding on the stamp. But, I decided to make this into a birthday card, so I felt that a balloon was essential.
I looked through all the balloon stamps I had, trying to find one that had a similar look to the koala and was the proper size. The balloon that I ended up using was the one in From the Herd. I even stamped the balloon one more time on white, and cut out the reflection, gluing it in place on my balloon.
The koala had a line running through his ear that was the continuation of the stem of the flower. I simply turned this line into the string from the balloon. Worked great! I popped up both the balloon and the koala with Stampin' Dimensionals.

My card base is Real Read, so I cut a strip of Whisper White that measured 3/4" wide, and centered a piece of red and white Washi Tape onto it. My original intention was to overlay the red and white Washi Tape with a thinner strip of Pool Party Washi Tape. Nope. That didn't work. The Washi Tape is just a bit too transparent and the design and color of the tape underneath showed through. Yuk. So I cut a 1/4" strip of Pool Party cardstock and used that in its place. I added Candy Dots to the top and the bottom to finish it off.

The final third of the card is the largest, and in this photo almost looks like a card in and of itself. I simply proceeded with the same color palette in the stamping of the retro-looking Happy Birthday. I cut my sentiment into a banner shape, then added some drawn-on stitching with Stampin' Write Markers.
The sentiment piece is also popped up with Dimensionals.
I am so happy with this little creation. This bit of Creative Therapy worked admirably and lifted me out of my funk -- at least, temporarily.
Another card, created from the other diecut design, will be forthcoming in a future post. It is already done, and I'm happy with those results also. So, stay tuned!
I really don't think I will make any of the cards as the instructions direct. I'm having too much fun marching off to my own drummer!
Funk-y
Smiles.
Another great design! Thanks for sharing on Pleasures of the NW DIY Party!
ReplyDeleteI'm an Aussie so of course I love the little Koala! Thanks for sharing with us at Over the Moon.
ReplyDeleteIt is so cute!
ReplyDeleteI hope your blue mood has lifted. This koala is a cutie!
ReplyDeletehow super cute my sister always loved the koala bear I have to say he was very popular in the days we shared together. I love this little card so super cute
ReplyDeletecome see us at http://shopannies.blogspot.com
The kola makes it perfect and was wonderful to share on the Oh My Heartsie GIrls Friday Features this week, thank you!
ReplyDeleteHope you have a wonderful weekend!
I think your version is SO much cuter! Sorry about the store closing, but glad you got a little sunshine to cheer you up! Thanks for joining us at #FridayFrivolity this week.
ReplyDeleteI love the addition of the Koala!! It makes it pop a bit more!! Thanks for sharing on My 2 favorite Things on Thursday!! Hope to see you again tomorrow!! Pinned!!
ReplyDelete