February 1, 2022

#dailycreating SEPTEMBER 2021

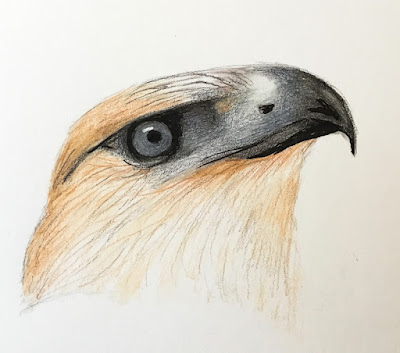
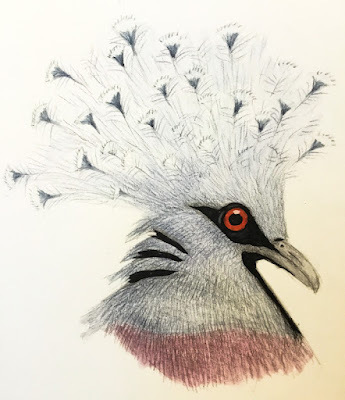
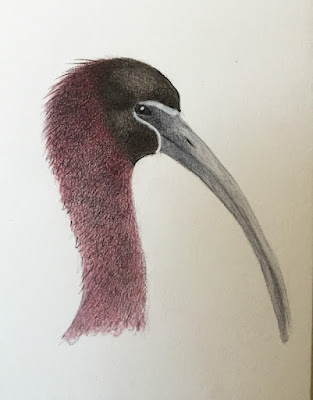
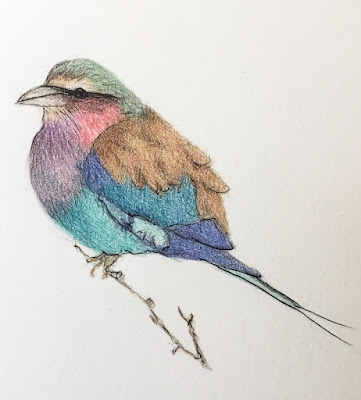
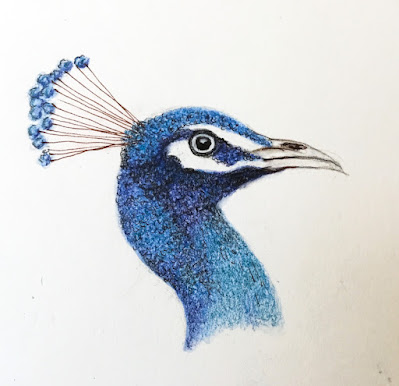
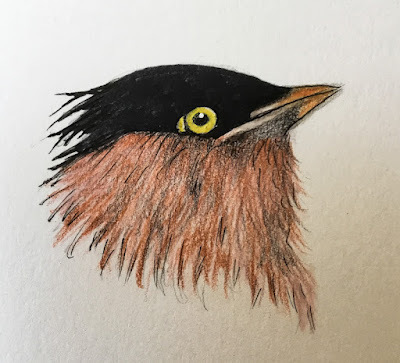
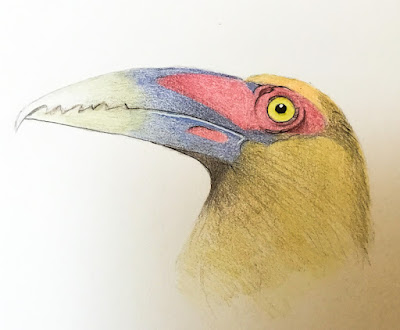
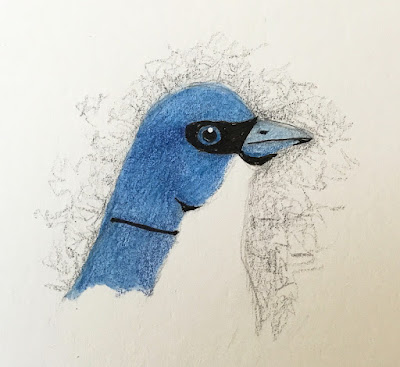
I certainly must have been a real bird brain when doing my #dailycreating drawings for September. You see, every drawing that I show you in this post is a portrait of a BIRD! I truly love trying to capture the personality of birds. Even the birds of prey have their own loveliness.

As members of the Facebook group #dailycreating, hostessed by artist Terry Runyan, we are encouraged to do some sort of creating, whatever strikes our fancy, each day. I originally joined this group more than three years ago to work on improving my drawing. So, that's mostly what I do.

Lately, however, the Pandemic is taking its toll on my emotional state, and often I find it almost too much to think about drawing. So, occasionally I do miss a day, much to my chagrin. 

Each Sunday afternoon, Terry posts a list of optional prompts for the coming week. This is another thing that I have veered away from at times, especially recently. I feel badly about that. But, my interest for awhile now has been more or less serious drawings of wildlife. If a prompt seems to fit along those lines, I gladly embrace it. If I feel up to drawing.

I guess September found me embracing the world of birds. So, I present to you 15 of the bird drawings I feel are adequate to share with the public. As I've done all these months, I will include above each image the prompt and any other pertinent information about my subject matter.

#thing on thing

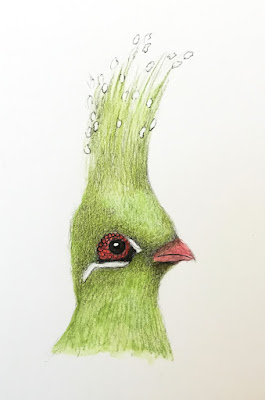
livingstone's turaco, africa

#birdurday
saker falcon, southeast europe/asia

#thing on thing
victoria crowned pigeon, new guinea

#mulberry
glossy ibis, north american atlantic coast/ west indies

#indigo
indigo bunting

#aqua/oyster shell
lilac-breasted roller, africa

#oyster shell
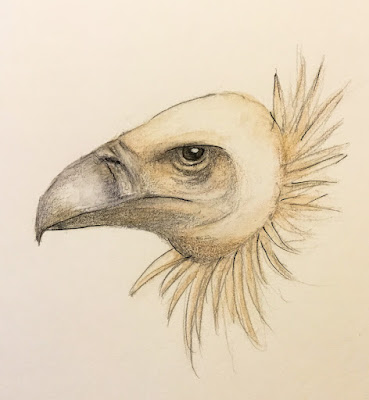
himalayan griffon vulture

#cantaloupe/kohl
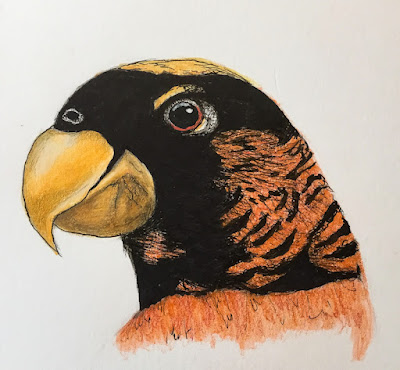
dusky lorikeet, new guinea

#powder blue
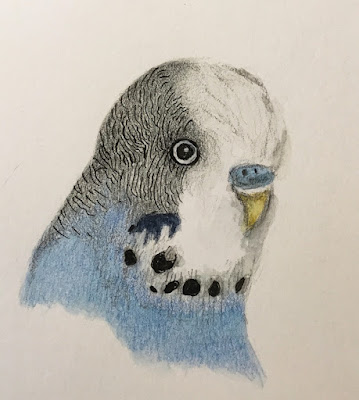
parakeet

#chocolate/powder blue
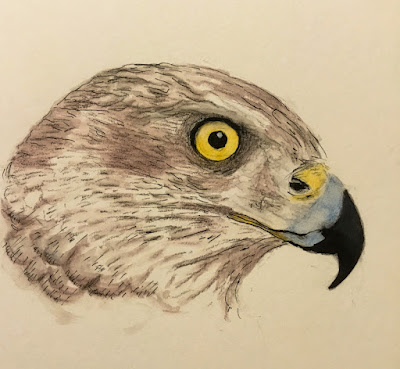
peregrine falcon

#peacock

#thing on thing
brahminy starling, thailand

#saffron
saffron toucanet, south america

#cornflower
blue vanga, madagascar

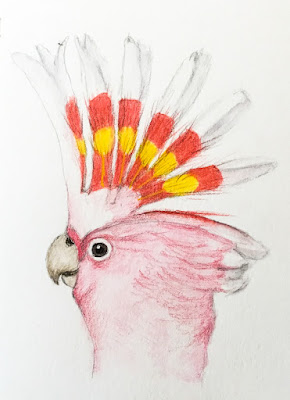
#pink salt
major mitchell's cockatoo, australia

Obviously I was thrilled with all the color prompts. It was so easy to do a search for birds of a specific color. Great fun!

For Wednesdays, #thing on thing day, I always choose to draw a bird with something extraneous on the head, such as plumage, messy hair, or even something weird on its beak.

Also, Terry had originally dedicated Saturdays to #caturday, after awhile adding #dogurday. Some time ago, she finally added as a possibility #animal-urday. Once again, lots of fun for me.

Please don't print or copy in any way my original artwork. Contact me if you would like a print. Thanks for your respect in this regard.

Stay tuned for October #dailycreating in about a month. In the meantime, please stay safe and healthy.

#dailycreating

Smiles.


January 29, 2022

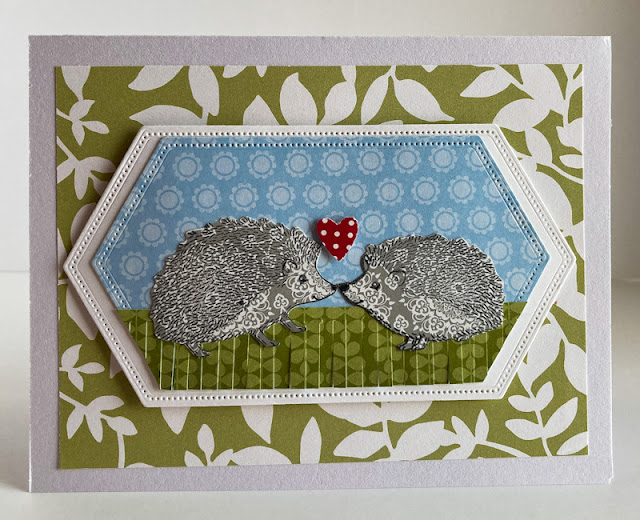
HEDGEHOGS IN LOVE

End of January? Uh huh, time to get out the Valentine making supplies!

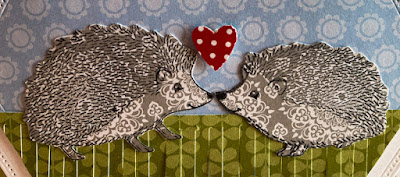
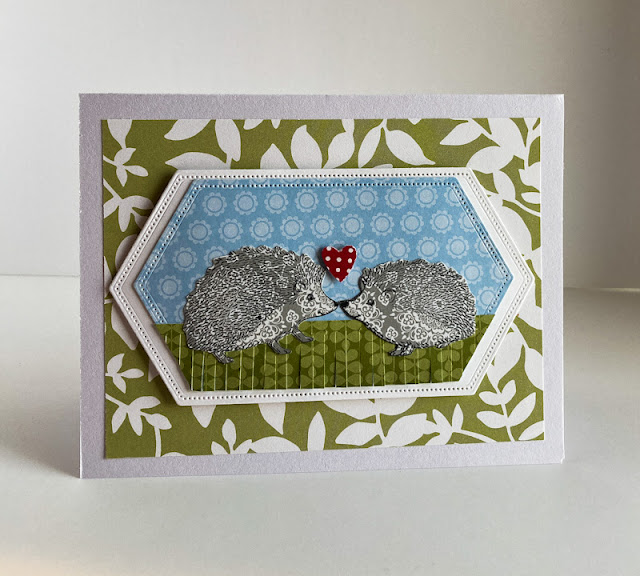
I feel my card for today would be suitable for a few occasions, such as wedding, anniversary, "love you". But, I see it as a perfect Valentine. And the adorable hedgehogs from the Happy Hedgehogs set are perfect to show someone your love on Valentine's Day.


This paper pieced card features Designer Series Paper in suitable prints and colors:


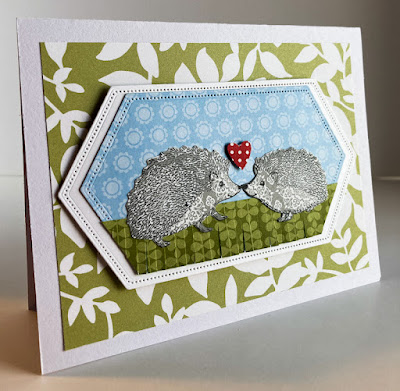
A few Stampin' Dimensionals in strategic places give the card a modest amount of dimension. More dimension can be realized if you snip "grass" into the green on which the hedgehogs stand. 


Keep reading for an easy tutorial on how to recreate this card.

SUPPLIES:
White cardstock
Designer Series Paper suitable for hedgehogs, grass, sky and a heart, as well as for a background

Happy Hedgehogs stamp set (page 64 in the Mini Catalog)

Black ink

Die Cutting Machine
Stitched Nested dies
Retired small heart punch
Stampin' Dimensionals, regular and mini

INSTRUCTIONS:

Fold a 5 1/2" x 8 1/2" piece of white cardstock in half, creasing it well with a bone folder.

To this card base, add a piece of leafy Designer Series Paper that measures 3 3/4" x 5". You want the DSP to be fairly simple in design so as not to interfere with the cuteness of the focal point.

From white cardstock, die cut a frame that measures 4 3/4" from point to point using the Stitched Nested dies.

From the same die set, but using the next smaller die, cut from a Designer Series Paper print that makes a good simple sky.

Cut a strip of Designer Series Paper that would make a good grassy area that measures about 1" x 4". Glue this to the bottom of the sky piece even with the bottom of the sky. Using paper snips, trim the edges of the green to fit with the sky.

Choose a Designer Series Paper that looks sort of hedgehoggy. I chose a soft gray print. Using the two hedgehog stamps, stamp one of each. Fussy cut the hedgehogs. Place them onto the prepared piece as well as you can so their noses are sort of touching and adhere in place.

With a heart punch, punch a heart from red and white dotted DSP. With a Mini Stampin' Dimensional, place it between the hedgehogs' heads.

Add the finished scene to the larger whtie label.

Using Stampin' Dimensionals, add this piece centered atop the green DSP background.


Heartfelt
Smiles.


January 25, 2022

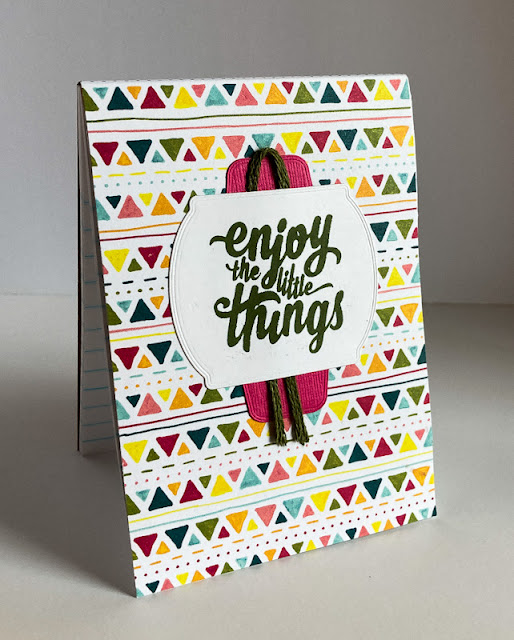
NOTEPAD

Of course, I don't know if you are as much a fan of Dollar Tree as I am or not. If you are, do you love to browse through the school/office supplies? 

One thing that I really love is the packs of tiny legal pads that measure 3 1/2" x 5". I have one near my computer at all times for those little notes I always seem to be making. 

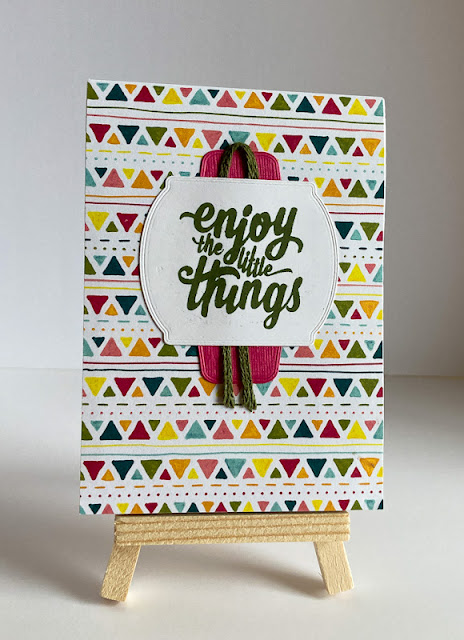
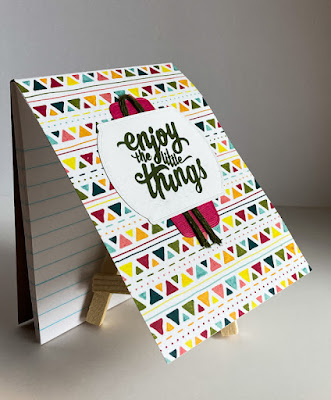
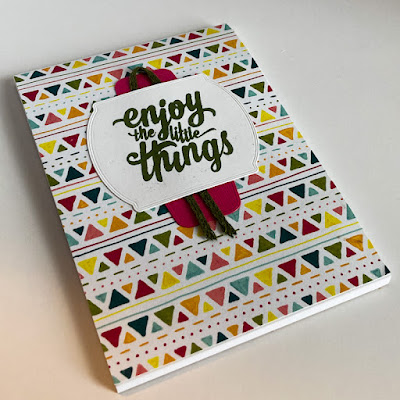
While I personally love them just the way they come, I will show you how to dress one up with a minimal amount of materials and effort. So cute, they would make adorable gifts, or one just for yourself to feel extra special. 


A piece of Designer Series Paper that appeals to you, measuring 3 1/2" x 6", and a few other supplies, and you're set to cuten (cuten??) up those naked notepads.


Imagine this little cutie cheering up your workspace!


Here comes a simple tutorial to make one of your own!

SUPPLIES:
Designer Series Paper to your liking
Basic White cardstock
Melon Mambo cardstock (or one that coordinates with your design)

Enjoy the Little Things stamp set (retired, or something fitting)

Mossy Meadow ink (or, once again, a coordinating ink)

Die Cutting Machine
Tasteful Labels dies (Page 166, Annual Catalog)
Mossy Meadow Woven Trim (or coordinating)
Lined 3 1/2" x 5" notepads purchased at Dollar Tree

INSTRUCTIONS:
These instructions are for covering a mini legal pad that measures 3 1/2" x 5".

Cut a 3 1/2" x 6" piece of Designer Series Paper. Holding the bottom of the paper at the bottom of the front of the pad, glue the DSP to the top page of the pad. Hold the pad firmly as you fold the top of the DSP over the top of the pad. It should make a neat binding, with a flap of DSP that you will glue to the back of the pad. Do not glue along the top of the pad, otherwise you won't be able to tear off your pages neatly.

With the long die from the Tasteful Labels die set, cut a piece from coordinating cardstock. In my sample, I used Melon Mambo.

On a scrap of Basic Whtie cardstock, stamp the sentiment in Mossy Meadow ink (or ink that complements the DSP you've chosen for your notepad). Using the same set of dies, cut out the label.

Cut a 6" piece of cord that coordinates with your project and gently fold it in half. Glue it to the long diecut piece with the folded part at the top and the two free ends hanging down.

Sandwiching the trim, add the white sentiment piece over that.

Adhere the decorative sentiment to the front of the tablet, raised slightly above the center point.


Noteworthy
Smiles.


January 22, 2022

WINTER WONDERLAND

January in Wisconsin. What can I say? Either you love it or hate it. Snow, cold, ice, poor visibility. To those who love it, it is the veritable winter wonderland. 

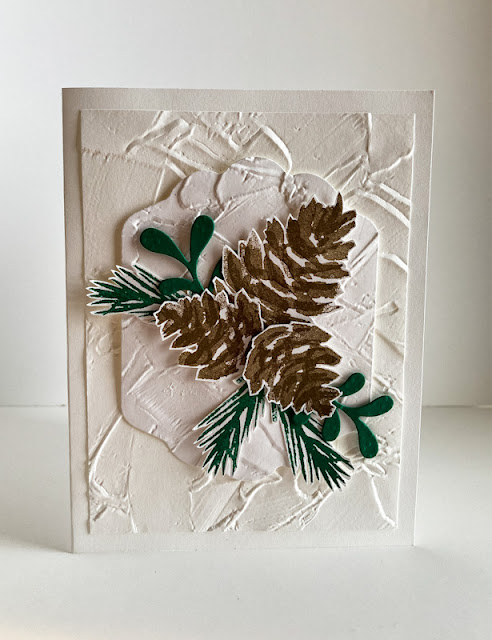
In my card today, I am trying to depict that feeling.


Full of texture to symbolize that of ice and snow, I think you get the idea of what it's like to live in Wisconsin during the winter. Actually, much of the Midwest experiences all these same wonders. I don't mean to claim it only for Wisconsin. But, that's where I am.


Would you like a tutorial on how to create a card such as this, which would be suitable for so many winter occasions?

SUPPLIES:
White cardstock
Shaded Spruce cardstock

Soft Suede ink
Shaded Spruce ink

Christmas Season stamp set (Item # 156293)

Die Cutting/Embossing Machine
Painted Texture embossing folder (page 159, Annual Catalog)
Pretty Pines Thinlits Dies (retired, but you could use any set that has sprigs of greenery)
Seasonal Labels dies (Item #156299)
Paper Snips
Stampin' Dimensionals

DIRECTIONS:
Fold a 5 1/2" x 8 1/2" piece of white cardstock in half, creasing it well with a bone folder.

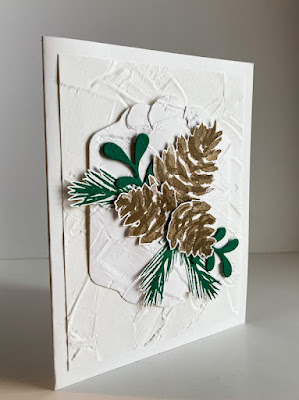
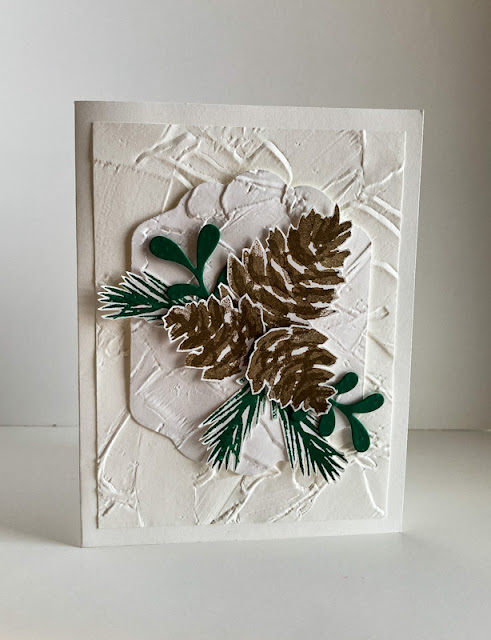
To the card base, add another piece of white cardstock, measuring 3 3/4" x 5" that has been embossed with the Painted Texture Embossing Folder.

Using one of the dies from the Seasonal Labels Dies, cut a label with a scalloped top and bottom. Emboss this also with the Painted Texture Embossing Folder. Adhere it to the center of the card with Stampin' Dimensionals.

On white cardstock, stamp the two-step pinecones with Soft Suede ink for both steps. In Shaded Spruce ink, stamp three of the evergreen branches. Fussy cut these pieces, leaving small white margins all around.

From Shaded Spruce cardstock, die cut two foliage pieces.

Arrange all these pieces as you wish to the embossed label, popping up components as you see fit with Stampin' Dimensionals.


Share with us what January is like where you live!

Wintry
Smiles.


January 18, 2022

DAFFODIL BIRTHDAY

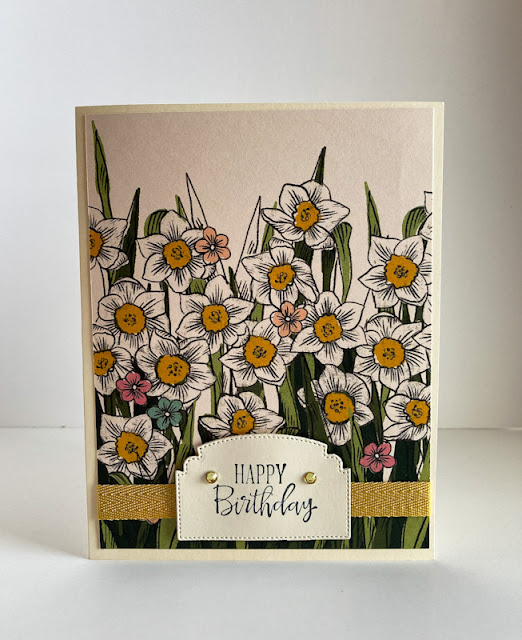
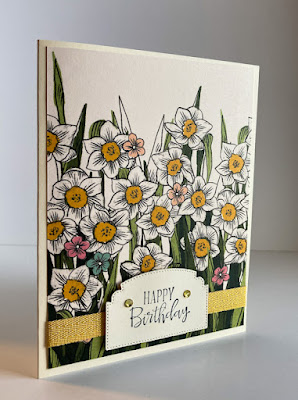
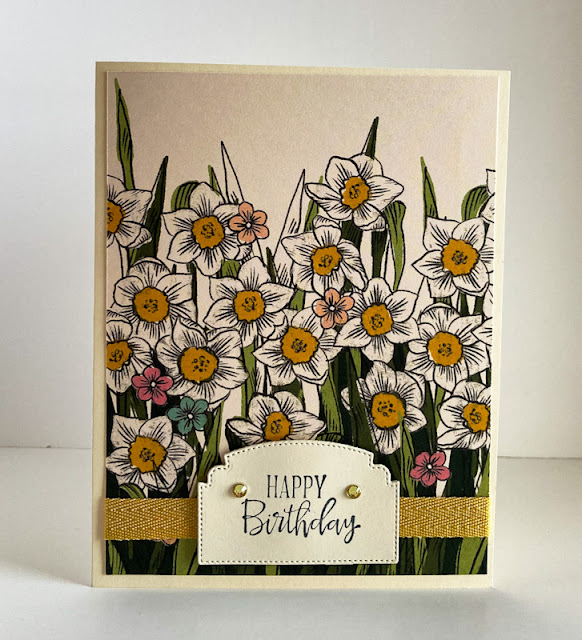
The Designer Series Papers that a customer can get for free through Sale-A-Bration are so pretty and varied. So much so that I decided to use one more on this card. The paper, which is a mirror image of many daffodils, makes it so easy to make a card that is stunning.

To make this card, simply cut off one side of the daffodils, a piece that measures 5 1/4" x 4". This way, you can get six card fronts such as this from a single sheet of DSP.


Since the DSP is so attractive in its own right, it takes very little to add to make a really wonderful card: a little ribbon, a fitting sentiment on a diecut tag, and a couple baubles are all that are needed.


Here is a tutorial (very simple!) on how to create a card like this.

SUPPLIES:
Very Vanilla cardstock
Daffodil Afternoon Designer Series Paper (Page 4 of the Sale-A-Bration brochure)

Peaceful Moments stamp set (page 24, Annual Catalog)

Black ink

Die Cutting Machine
Ornate Frames dies (Page 164, Annual Catalog)
Basic Rhinestones
Dark Mango Melody Stampin' Blend
Stampin' Dimensionals
So Saffron ribbon

INSTRUCTIONS:
Fold a 5 1/2" x 8 1/2" piece of Very Vanilla cardstock in half, creasing it well with a bone folder.

About 1/2" from the bottom, wrap a length of 1/2" coordinating ribbon around a 4" x 5 1/4" piece of Daffodil Afternoon Designer Series Paper. You may want to add adhesive or a glue dot to the center of the ribbon to hold it in place on the card. Fasten the ends of the ribbon with tape to the backside of the DSP.

Add the piece of DSP to othe Very Vanilla card base.

Using Very Vanilla cardstock and the die that looks like a sign from the Ornate Frames die set, cut a label. On this label, in black ink, stamp a sentiment that fits the space well. My sentimenr came from the Peaceful Moments stamp set.

Use the Dark Mango Melody Stampin' Blend to color two of the Basic Rhinestones. When coloring something hard like embellishments, be sure to use the writing tip of the Blend. Add these rhinestones to either side of the sentiment.

Add the sentiment piecce over the ribbon with a couple Stampin' Dimensionals.


Have you earned anything through Sale-A-Bration yet? Remember, I'm a Stampin' Up! demonstrator and would be happy to help you!

Daffodil
Smiles.