
I love combining the beauty of music with my cards on occasion. I was lucky enough to discover an old book filled with Christmas carol music. I know a lot of you would not approve of my actions, but, I did remove some of the music pages from the book to use in cards. Tsk tsk.
After cutting the music to a 3 3/4" x 5" size, I stenciled snowflakes in Pacific Point ink across the musical score. I'd made a stencil using one of the pretty snowflake dies from the So Many Snowflakes dies set, and this is what I sponged through to create my stenciled look. I was careful not to overlap the snowflakes. However, I wanted them as close together as possible to fill up the musical space.
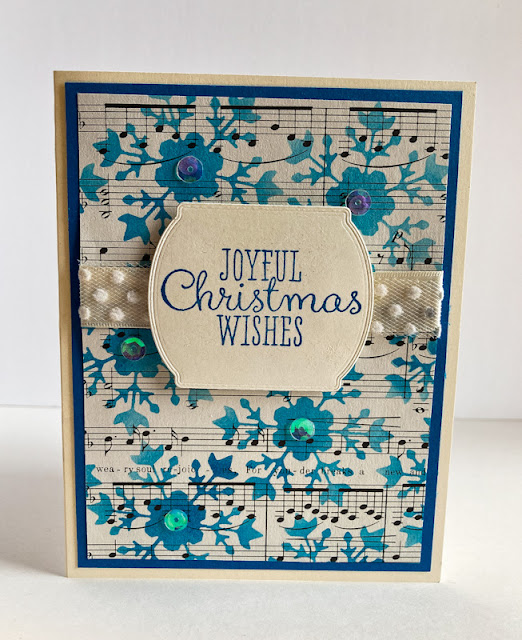
Adding a little ribbon, a few sequins and an appropriate sentiment gave me a finished look without being bulky. Also, keeping the color scheme tp only two colors, with the addition of the musical notes and markings, makes it even more effective.
I used Very Vanilla instead of white cardstock since the music itself had something of the patina of age.

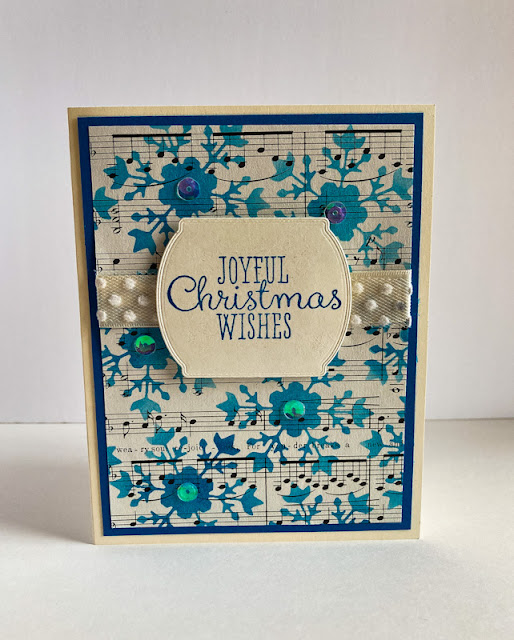
A close up of the fun parts of the card:

Following is a tutorial on how to create a card similar to this.
SUPPLIES:
Very Vanilla cardstock
Pacific Point cardstock
Christmas music
Pacific Point ink
Joyful Christmas stamp set (retired)
Die cutting machine
So Many Snowflakes dies (page 165, Annual Catalog)
Tasteful Labels dies (page 166, Annual Catalog)
Stencil made from die
Sequins
Stampin' Dimensionals
Glue Dots
Blending Brush (page 129, Annual Catalog)
2 Very Vanilla ribbons
INSTRUCTIONS:
Fold a 5 1/2" x 8 1/2" piece of Very Vanilla cardstock in half, creasing it well with a bone folder.
To this, add a 4" x 5 1/4" piece of Pacific Point cardstock.
Use one of the dies from the So Many Snowflakes dies to create a stencil from a scrap of cardstock. Using this stencil, move it randomly over a 3 3/4" x 5" piece of Christmas music, sponging through the snowflake opening in Pacific Point, using a Blending Brush or stamping sponge. Continue to do this randomly all over the music without letting any of the snowflakes overlap.
Cut a piece of 3/4" Very Vanilla satin ribbon and a 3/4" piece of the Very Vanilla polka dot ribbon to about 6". Layering the polka dots over the satin, adhere this combo to the snowflaked piece about 1 3/4" down from the top, taping the ends on the back of the piece. Add this to the card base.
In Pacific Point ink, stamp the Christmas greeting onto a piece of Very Vanilla cardstock. Die cut it with one of the dies from the Tasteful Labels set. Add this over the ribbon with Stampin' Dimensionals.
Add a sequin to the center of all the available snowflakes for a little finishing bling.
What are your true feelings about defacing books in this manner? I really am curious. I am an avid book lover and yet I have no problem doing this whatsoever. What does bug me, however, is when people turn over the corners of a page instead of using a bookmark. But a book that has served its purpose I think would appreciate being loved in a new and wonderful way. Thoughts?
Snowflake
Smiles.
Just beautiful, Linda!
ReplyDeleteMichelle
https://mybijoulifeonline.com,
Thank you so much, Michelle!
DeleteThat is lovely!
ReplyDeleteThank you, Joanne!
DeleteThe card is lovely. I hope those receiving it realize the time and love you have put into it. Homemade is so much nicer than mass produced.
ReplyDeleteAs far as defacing books...if no one would be reading it anyway, it might as well serve a purpose. If it is old and valuable, then, no, but that'is very subjective, isn´t it?
Blessings, and thank you for sharing your art at the Homestead Blog Hop!
Laurie
Ridge Haven Homestead
Thank you for your kind and inspiring words, Laurie! I hope your 2022 is wonderful!
Delete