
The Designer Series Papers that a customer can get for free through Sale-A-Bration are so pretty and varied. So much so that I decided to use one more on this card. The paper, which is a mirror image of many daffodils, makes it so easy to make a card that is stunning.
To make this card, simply cut off one side of the daffodils, a piece that measures 5 1/4" x 4". This way, you can get six card fronts such as this from a single sheet of DSP.
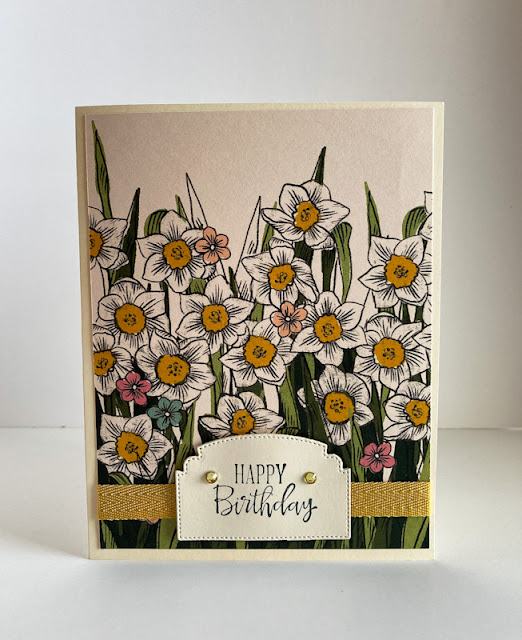
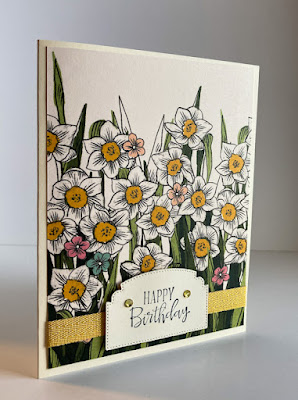
Since the DSP is so attractive in its own right, it takes very little to add to make a really wonderful card: a little ribbon, a fitting sentiment on a diecut tag, and a couple baubles are all that are needed.
Here is a tutorial (very simple!) on how to create a card like this.
SUPPLIES:
Very Vanilla cardstock
Daffodil Afternoon Designer Series Paper (Page 4 of the Sale-A-Bration brochure)
Peaceful Moments stamp set (page 24, Annual Catalog)
Black ink
Die Cutting Machine
Ornate Frames dies (Page 164, Annual Catalog)
Basic Rhinestones
Dark Mango Melody Stampin' Blend
Stampin' Dimensionals
So Saffron ribbon
INSTRUCTIONS:
Fold a 5 1/2" x 8 1/2" piece of Very Vanilla cardstock in half, creasing it well with a bone folder.
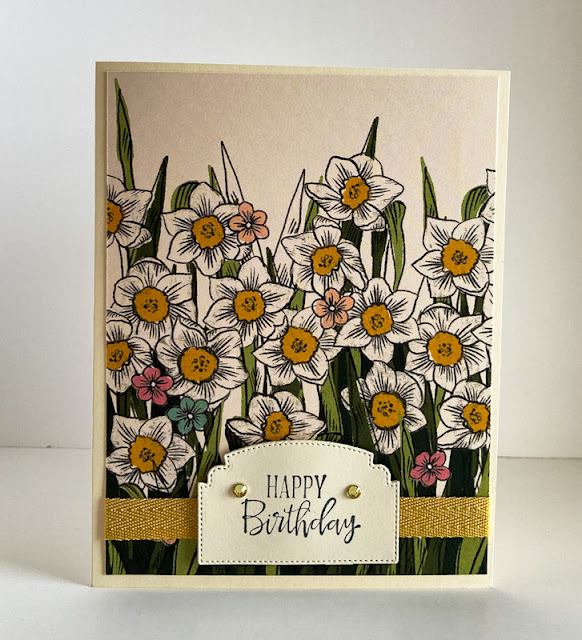
About 1/2" from the bottom, wrap a length of 1/2" coordinating ribbon around a 4" x 5 1/4" piece of Daffodil Afternoon Designer Series Paper. You may want to add adhesive or a glue dot to the center of the ribbon to hold it in place on the card. Fasten the ends of the ribbon with tape to the backside of the DSP.
Add the piece of DSP to othe Very Vanilla card base.
Using Very Vanilla cardstock and the die that looks like a sign from the Ornate Frames die set, cut a label. On this label, in black ink, stamp a sentiment that fits the space well. My sentimenr came from the Peaceful Moments stamp set.
Use the Dark Mango Melody Stampin' Blend to color two of the Basic Rhinestones. When coloring something hard like embellishments, be sure to use the writing tip of the Blend. Add these rhinestones to either side of the sentiment.
Add the sentiment piecce over the ribbon with a couple Stampin' Dimensionals.
Have you earned anything through Sale-A-Bration yet? Remember, I'm a Stampin' Up! demonstrator and would be happy to help you!
Daffodil
Smiles.
What a beautiful piece of artwork on that card! And the embellishments really finish it off. Thanks for sharing at Vintage Charm. xo Kathleen
ReplyDeleteThanks, Kathleen! Yes, the paper itself was so beautiful, I had very little work to do to make it into a card.
DeleteThe daffodils on your card are so pretty and perfect for this time of the year. Mine are already starting to come up in the yard. Too bad they don't last very long once they bloom but this card is perfect for enjoying the beauty of them for much longer. Thanks for sharing it. #HomeMattersParty
ReplyDeleteThank you, Donna! Where do you live -- that you're getting daffodils already? Lucky you!
DeleteThis way of card making looks and sounds so interesting. I've only ever made them by cutting things with my Cricut, and honestly, I usually just buy them lol. But your cards look so beautiful! I would love to try my hand in it, but if I buy more crafting supplies, my husband might have a heart attack lol! Thanks for sharing on Crafty Creators.
ReplyDeleteXOXO,
Niki ~ Life as a LEO Wife
Unlike you, Niki< i don't own a Cricut. It always looks intriguing, but I just won't let myself get sucked in. I am pretty much a Stampin' Up! girl, with a few exceptions. Thanks for letting me link up!
DeleteThat is really pretty! I did just place an order over the weekend and earned a few sale-a-bration things and am toying with the idea of re-stocking my ink pads and markers while I can get free stuff anyway!
ReplyDeleteThanks, Joanne!
Delete