March 5, 2022

SEASIDE NOTIONS

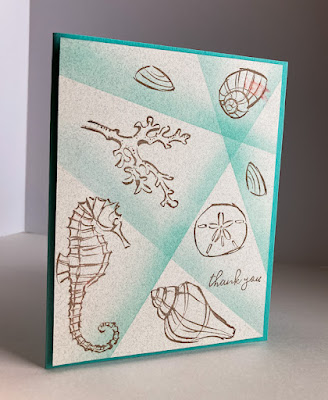
Have you ever heard of the retiform technique? Using this technique, you create divided sections on a piece of cardstock in which you can stamp various images.

Through my research into the retiform technique, it appears there are various ways you can achieve this effect. To do the technique on the cards I show below, I used a piece of scrap cardstock, ink and blending brushes.


I sifted through my stamp sets searching for a set that has a variety of related images in a few different sizes. 

With these stamps in mind, I went to work on a piece of light-colored cardstock that measured 4" x 5 1/4". I didn't want any of my lines to be parallel to each other or the edges of the cardstock. I think that by being careful with this, the resulting card will have more of a carefree look rather than being too structured.

My first line was the one that extends from the bottom to the upper right corner. To make this dividing line, I gently sponged Coastal Caban ink against a piece of scrap cardstock held firmly in position. You must be sure that your scrap cardstock is long enough to reach across any expanse of cardstock you will be encountering. 

Once my first line was sponged in place satisfactorily, I moved on to the next one, which was the one that ran from about the middle of the left edge to the lower right corner. In this way, I proceeded to create sponged lines all across the piece of cardstock, always keeping in mind the sizes of the stamps I planned on using in the sections.

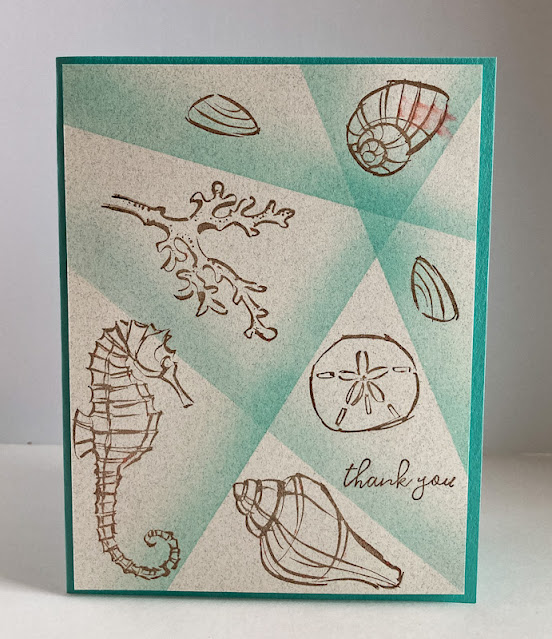
When all my lines were created to my satisfaction, I went to work stamping in my images in Soft Suede ink, adding, also in Soft Suede, a small "thank you" within the sand dollar space.

Mounting it onto a Coastal Cabana card base gave me a pretty quick and easy one layer card.

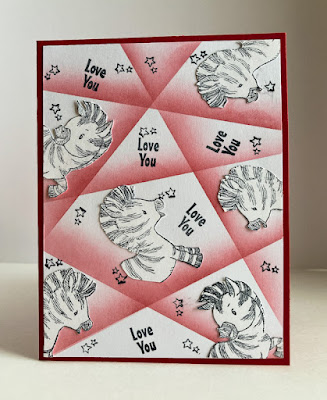
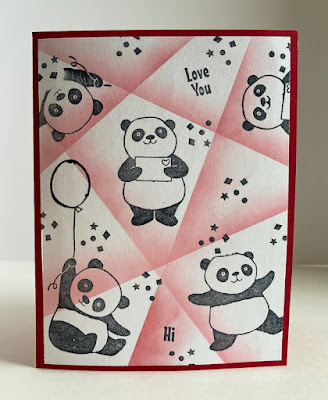
Shown below, I show the Valentines I made 
for my two grandchildren using the retiform technique.


I hope you understand my brief instructions on how to do the retiform technique for yourself. Between my directions and lookiing at my samples, I'm sure you can figure it all out nicely. Otherwise, you can refer to videos on YouTube. In that way, you will also discover other ways of doing this fun technique.
Retiform

Smiles.


March 1, 2022

#dailycreating OCTOBER 2021

Here it is, the long-awaited new installment of #dailycreating! Just kidding. I don't know if any of you really look forward to seeing the next month's worth of drawings I've done as a member of artist Terry Runyan's Facebook group, #dailycreating or not. 

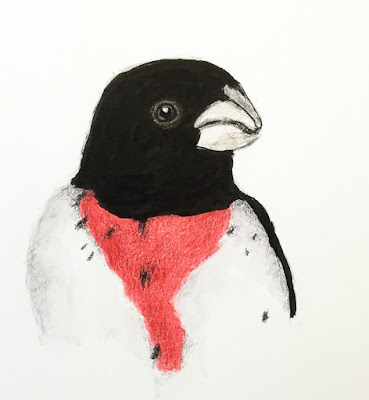
Anyway, it looks like October 2021 was another of my birdbrained months. All 13 of the drawings I have featured in this post are, once again, birds. I find birds of all sorts intriguing and so fun and satisfying to draw. 

During October, one of the members of Terry's group mentioned a challenge that was going on, #birdtober, and shared the daily prompts from this challenge. Since, at the time, birds seemed to be my forte, I thought it would be fun to give some of these daily challenges a try. So that's why you'll find that distinction, #birdtober, above many of the photos. 

As part of Terry's international group, we members are all encouraged to do something creative each day. When I joined her group in August 2018, my intent was to work on improving my drawing skills. 

To some extent, I am still working on that. But, life has so often gotten in the way lately, that more than ever, I have started to let my daily drawing slide somewhat. Oftentimes I find myself creating in some way that doesn't involve drawing in my sketchbook, be it cardmaking or working on a project for a Skillshare class. 

I hope I don't lose my desire to draw completely. Part of what's been getting me down about it is the old "not good enough" syndrome in that I don't get very much approval/affirmation from my social media accounts, mostly Instagram. Put it this way: I have to be content with a whopping 20 hearts on any of my drawings. On occasion, it gets to the high 20s, but not often. If you're interested, you can find me under Paperseedlings on Instagram.

I keep telling myself "it doesn't matter." But I don't listen. It DOES matter. To me. Wah wah wah. 

With all my whining out of the way, I will include above each of the drawings the prompt that I was using, as well as any other pertinent information about the bird I've depicted.

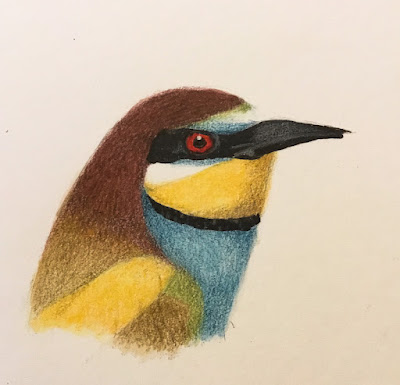
#birdtober bee eater


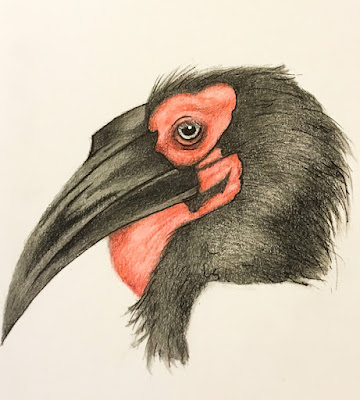
#birdtober hornbill
southern ground hornbill/africa

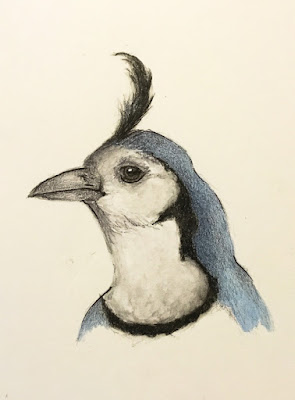
#thingonthing
white-throated magpie jay/costa rica

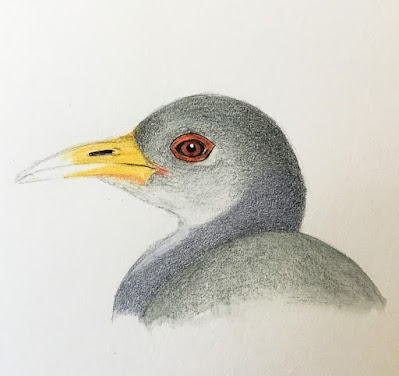
#birdtober railidae
gray-necked wood rail/central and south america

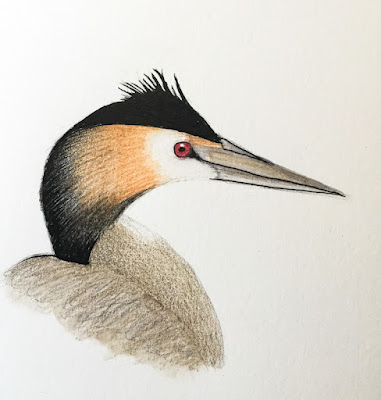
#birdtober grebe
great crested grebe/europe

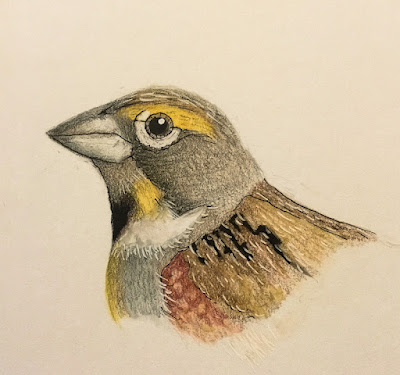
#birdtober dickcissel
dickcissel/midwest

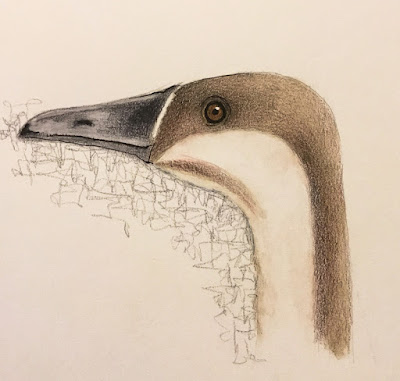
#birdtober goose
swan goose/eastern asia

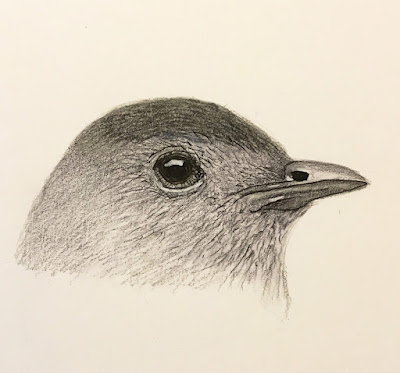
#birdtober catbird
gray catbird

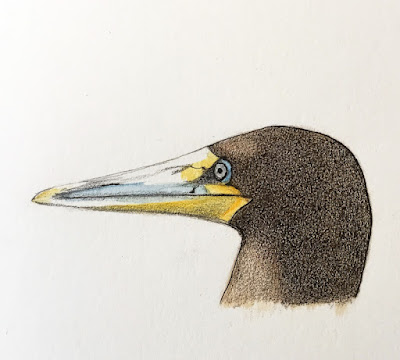
#birdtober booby
brown booby/tropical oceans worldwide

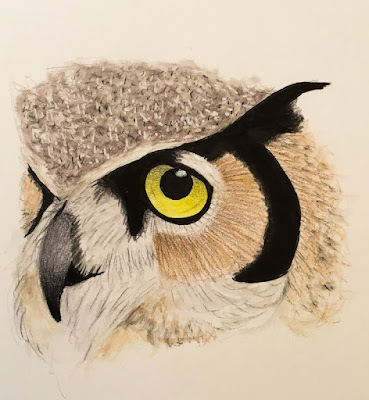
#owls
great horned owl

#birdtober tanager
#rainforest
cherry-throated tanager/rainforest

#thing on thing
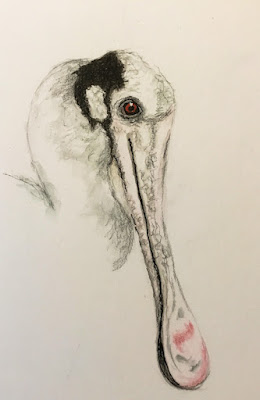
spoonbill

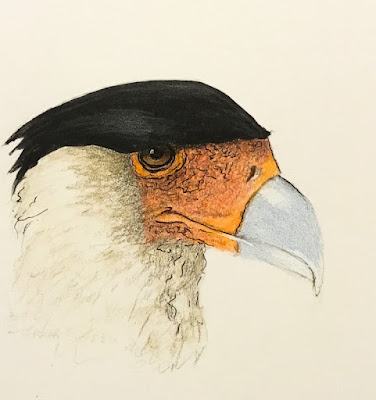
#birdtober caracara
crested caracara/american tropics

I must admit that it was a thrill to have in front of me a month's worth of bird challenges. I've looked for other such challenges, but so far have been unable to find any more. 

Even though I've said it in the past, Terry has designated each Wednesday as #thing on thing day. She always does some sort of a cat on head drawing. She does such a fabulous job of that on a weekly basis. For myself, I have chosen to consider anything extraneous on a bird's head to be fodder for my drawing whims, be it a crest, messy head feathers, weird additions to a beak -- think turkey! -- or whatever draws my interest. That's what I do each week for the #thing on thing prompt. 

There we have another month's worth of drawings, once again all birds. I hope you don't mind me showing you my drawings at the beginning of each month. 

Please don't use or copy any of my drawings without my permission. Giclee prints are always an option.

Birdbrain
Smiles.


February 26, 2022

RAINBOW THANKS

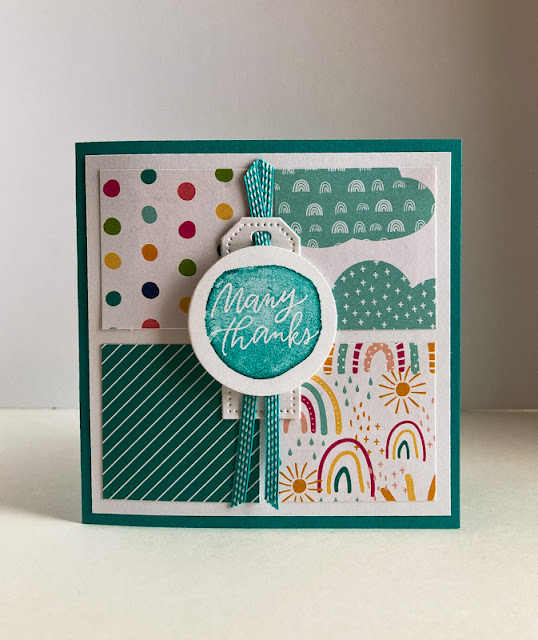
The pack of 6X6 Designer Series Paper, Sunshine & Rainbows, that you can get for free with a $50 purchase during Sale-A-Bration (which ends Monday, February 28!), has the most precious designs.

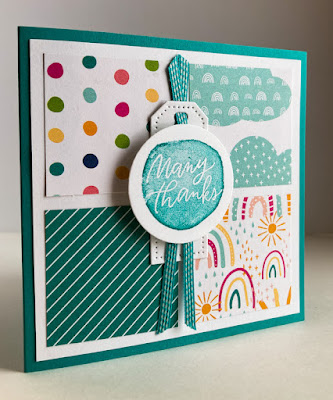
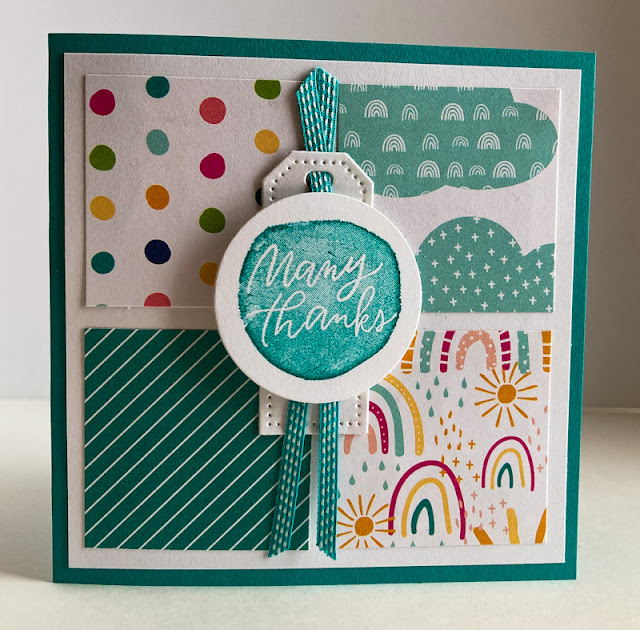
Because there are just so many cute designs, I wanted to create a card using more than one of them. And shown below is what I came up with. It is so bright and cheery. Don't you agree?


I wanted as much of the designs to show as possible, 
so I made my sentiment piece small and unimposing. 


Following is a tutorial on how to make this 4 1/4" square card that fits nicely inside a standard A2 envelope.

SUPPLIES:
Bermuda Bay cardstock
White cardstock
Sunshine & Rainbows  Designer Series Paper (Sale-A-Bration Brochure, page 8)

Lucky You stamp set (Mini Catalog, page 67)

Bermuda Bay ink

Die cutting machine
Tailor Made Tags Dies (Annual Catalog, page 166)
Layering Circles Dies (Annual Catalog, page 163)
Bermuda Bay ribbon
Stampin' Dimensionals

INSTRUCTIONS:
Fold a 4 1/4" x 8 1/2" piece of Bermuda Bay cardstock in half, creasing it well with a bone folder.

Cut a 4" square of white cardstock. To this, add evenly spaced four 1 3/4" squares cut from the Sunshine & Rainbows Designer Series Paper. 

Add this finished portion to the card base.

On a scrap of white cardstock, in Bermuda Bay ink, stamp "Many Thanks" from the Lucky You stamp set. Die cut this piece with a 1 5/8" circle from the Layering Circles die set. 

Also from white cardstock, die cut a tag measuring 7/8" x 2 1/4" from the Tailor Made Tags Dies set.

Cut two pieces of a coordinating 1/8" wide ribbon that measure 3 3/4", angle trimming the ends. Thread the two top pieces of ribbon through the hole in the tag so the ends are behind the tag, extending about 1/2" from the top of the tag and letting the remaining ends dangle. Tape them in place so they stay put as you want them.

With Stampin' Dimensionals, adhere the sentiment to the tag/ribbon combo.

Add this section flat, centered vertically, to the card.


Rainbow
Smiles.


February 22, 2022

SAD BUNNY

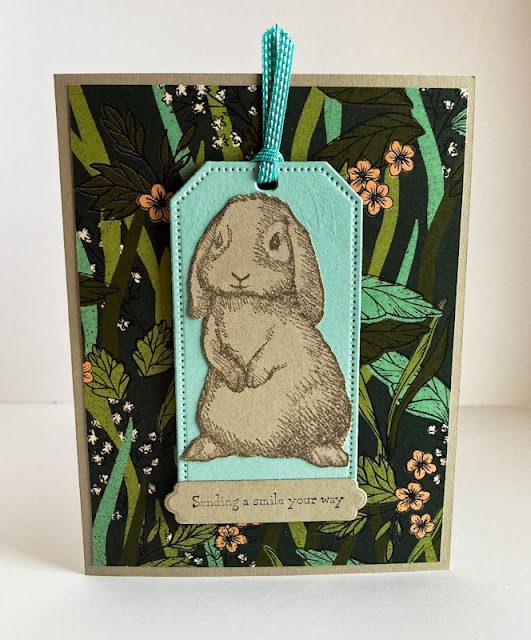
Is it just me -- or do you agree that the expression and the eyes on this bunny make him look so sad?

Anyway, in my head, since that's how I thought he looked, I figured he would be a good one to add to a card to send some cheer to a person who could use a good smile. Like me, for example.


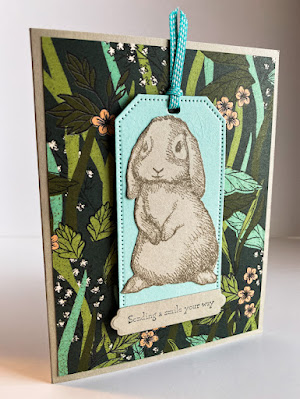
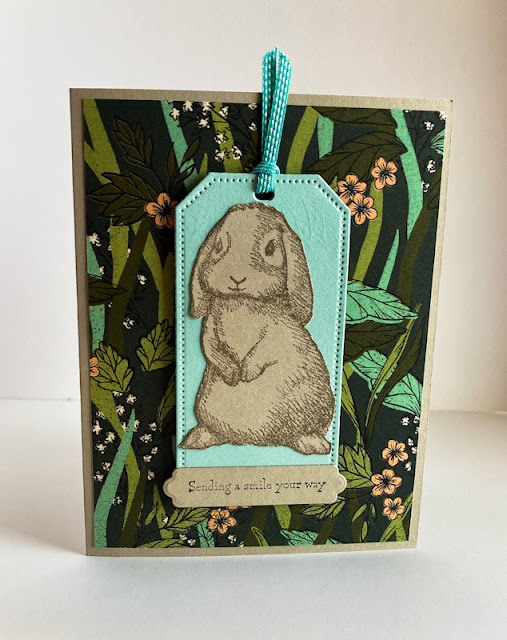
Our sad little bunny is set onto a cute stitched tag with coordinating ribbon, and then popped against some of the pretty paper from Sale-A-Bration, Daffodil Afternoon. I love the way this DSP makes our bunny look as if he's sitting amongst the flora in a garden. 


Read on for a tutorial on how to make this quick and easy card to ease someone else's day.

SUPPLIES:
Sahara Sand cardstock
Pool Party cardstock
Daffodil Afternoon Designer Series Paper (Sale-A-Bration, page 4)

Gray Granite ink (although perhaps black ink would have shown up better)
Black ink

Easter Friends (Mini Catalog, page 27)
Many Messages (Annual Catalog, page 42)

Die Cutting Machine
Seasonal Labels dies (Item #156299)
Tailor Made Tags dies (Annual Catalog, page 166)
Bermuda Bay Ribbon
Stampin' Dimensionals
Paper Snips

INSTRUCTIONS:
Fold a 5 1/2" x 8 1/2" piece of Sahara Sand cardstock in half, creasing it well with a bone folder.

To this card base, add a piece of wild garden Designer Series Paper that measures 4" x 
5 1/4". Set aside for now.

In Gray Granite ink, stamp the sad-looking bunny. Fussy cut him. He is easy to cut out.

From Pool Party cardstock, die cut a tag that measures 2" x 3 1/2" using the Tailor Made Tags dies.

Insert a piece of Bermuda Bay ribbon through the hole in the top of the tag.

Glue the fussy cut bunny to the tag.

From Sahara Sand cardstock, die cut a label using the Seasonal Labels dies. This label measures about 2 1/2" x 1/2". In black ink, stamp your sentiment. I thought the bunny could use some or offer some cheering up, so that's why I chose the sentiment I did.

Adhere the sentiment to the bottoom edge of the tag.

Use Stampin' Dimensionals to add the tag centered on the card.


Sad
Smiles.


February 19, 2022

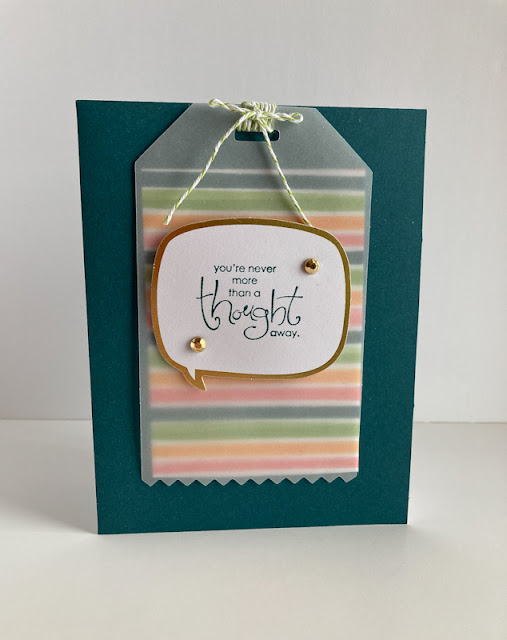
VELLUM TAG

We cardmakers are all well aware of how much of a challenge working with vellum can be. 

Its translucence is the single thing that poses the biggest problem in that almost nothing works when trying to adhere the vellum to another surface. In my experience, I have never come upon a product that doesn't show through the vellum, even adhesives that are meant specifically for use with vellum.

That's why I always welcome any tricks I come across for the adherence of this fussy component.

Recently, putting together a card from an old Stampin' Up! kit gave me just such a wonderful solution. 


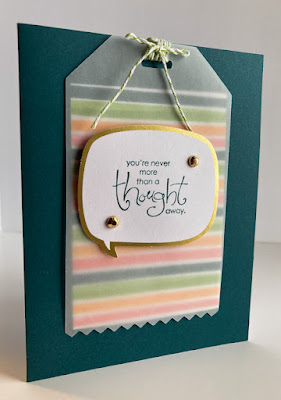
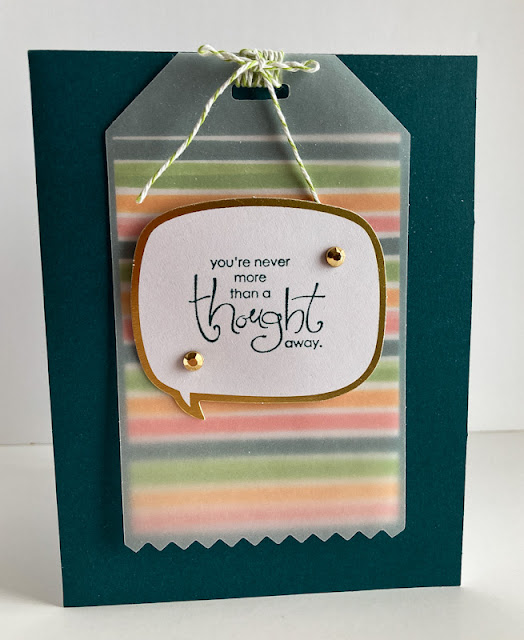
The secret is the fancy-ness with baker's twine at the top of the vellum tag. Do you see that the twine was wrapped several times through the hole at the top of the tag and then finished with a bow? What a perfect way to disguise the presence of adhesive!


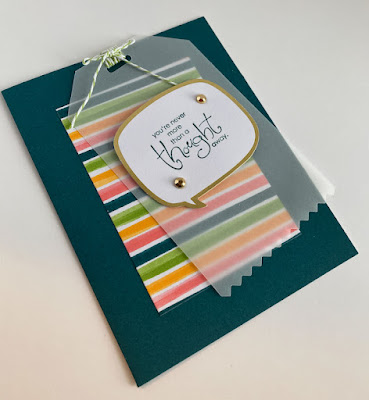
After adhering a striped piece of cardstock to the cardstock base, I added a glue dot to the back of the baker's twine and added the tag to the top of the card.

You can see in the photo below, when I slide the tag to the side a bit, the colorful stripes below. But, since vellum is translucent, it lets the print show through, however subtly. 


The sentiment I stamped on the gold foil edged tag is from a forever ago Sale-A-Bration stamp set. I still love it and use it quite frequently. The words speak so eloquently.

Adding a couple of Gilded Gems (page 142, Annual Catalog) to the tag echoes the gold trim of it nicely.


Do you have any vellum adhering tricks you could share with us to make our lives easier?

Vellum
Smiles.